
Paper Bag Puppet Witch
Supplies:Black, green, white, and purple paper if you want a bow.
Paper straw (I used a stripe green and white one).
Brown paper bag (these are sold in bunches near the sandwich bags at most grocery stores).
Crayon or google eyes.
Scissors and glue.
Step 1: Cut out a witch nose out of the green paper. Then two circles out of the white paper. A witch shaped hat out of the black paper and if you want a bow cut it out of the purple paper.

Step 2: Cut the straw down to the width of the hat.
Step 3: Now you are ready to glue. Glue the hat to the top of the flap. Then glue the straw across the hat and a purple
hair bow above it. Glue the green nose just below the bottom of the hat and then glue the eyes on top of it. Choose a color to color your eyes and witch will look like the picture below.

Trick or Treat Bag Monster
Supplies: You will need a colored gift bag with handle. ( I found a 12 pack of bright colors at Hobby Lobby for $5.99)
Paper: Black, white, and two different patterned or colored papers.
Scissors and glue.

Step 1: Cut a large circle out of the white paper and a smaller circle out of the black paper. Cut arms with hands out of one of the patterned papers. Out of the other patterned paper cut teeth.

Step 2: Glue the large white circle in the middle of the two bag handles and glue the black circle on top.
Glue the teeth a little below the eye.
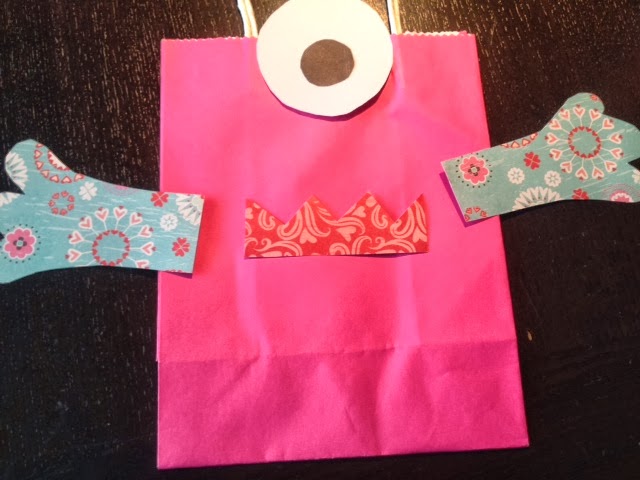
Step 3: Glue the arms to each side of the bag.

Finished! Some of the kids I did this with wanted to off center their eye and draw red lines on the white part of the eye too.
No comments:
Post a Comment